MaPSA Test
Macro Pixel Sub-Assembly (MaPSA) Probe Testing
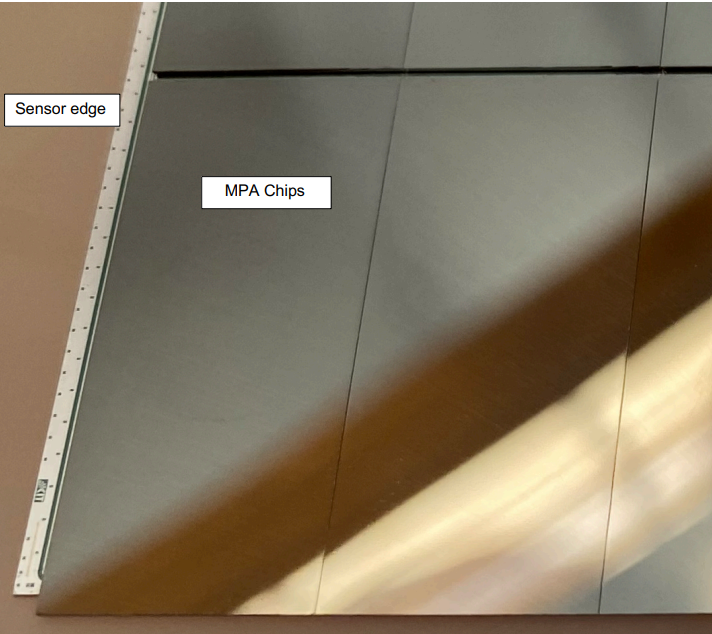
The Macro Pixel Sub-Assembly (MaPSA) is the bump bonded assembly of the
pixelated PS-p sensor and the MPA (Macro Pixel ASIC) readout chip. The PS modules contain a strip sensor on the top layer and a the pixelated strip sensor on the bottom layer. This will require sixteen MPA chips (each with a si...
Wire Bonding Long Term 2S and PSs Sensors
Wire Bonding: Long Term 2S and PSs Sensors
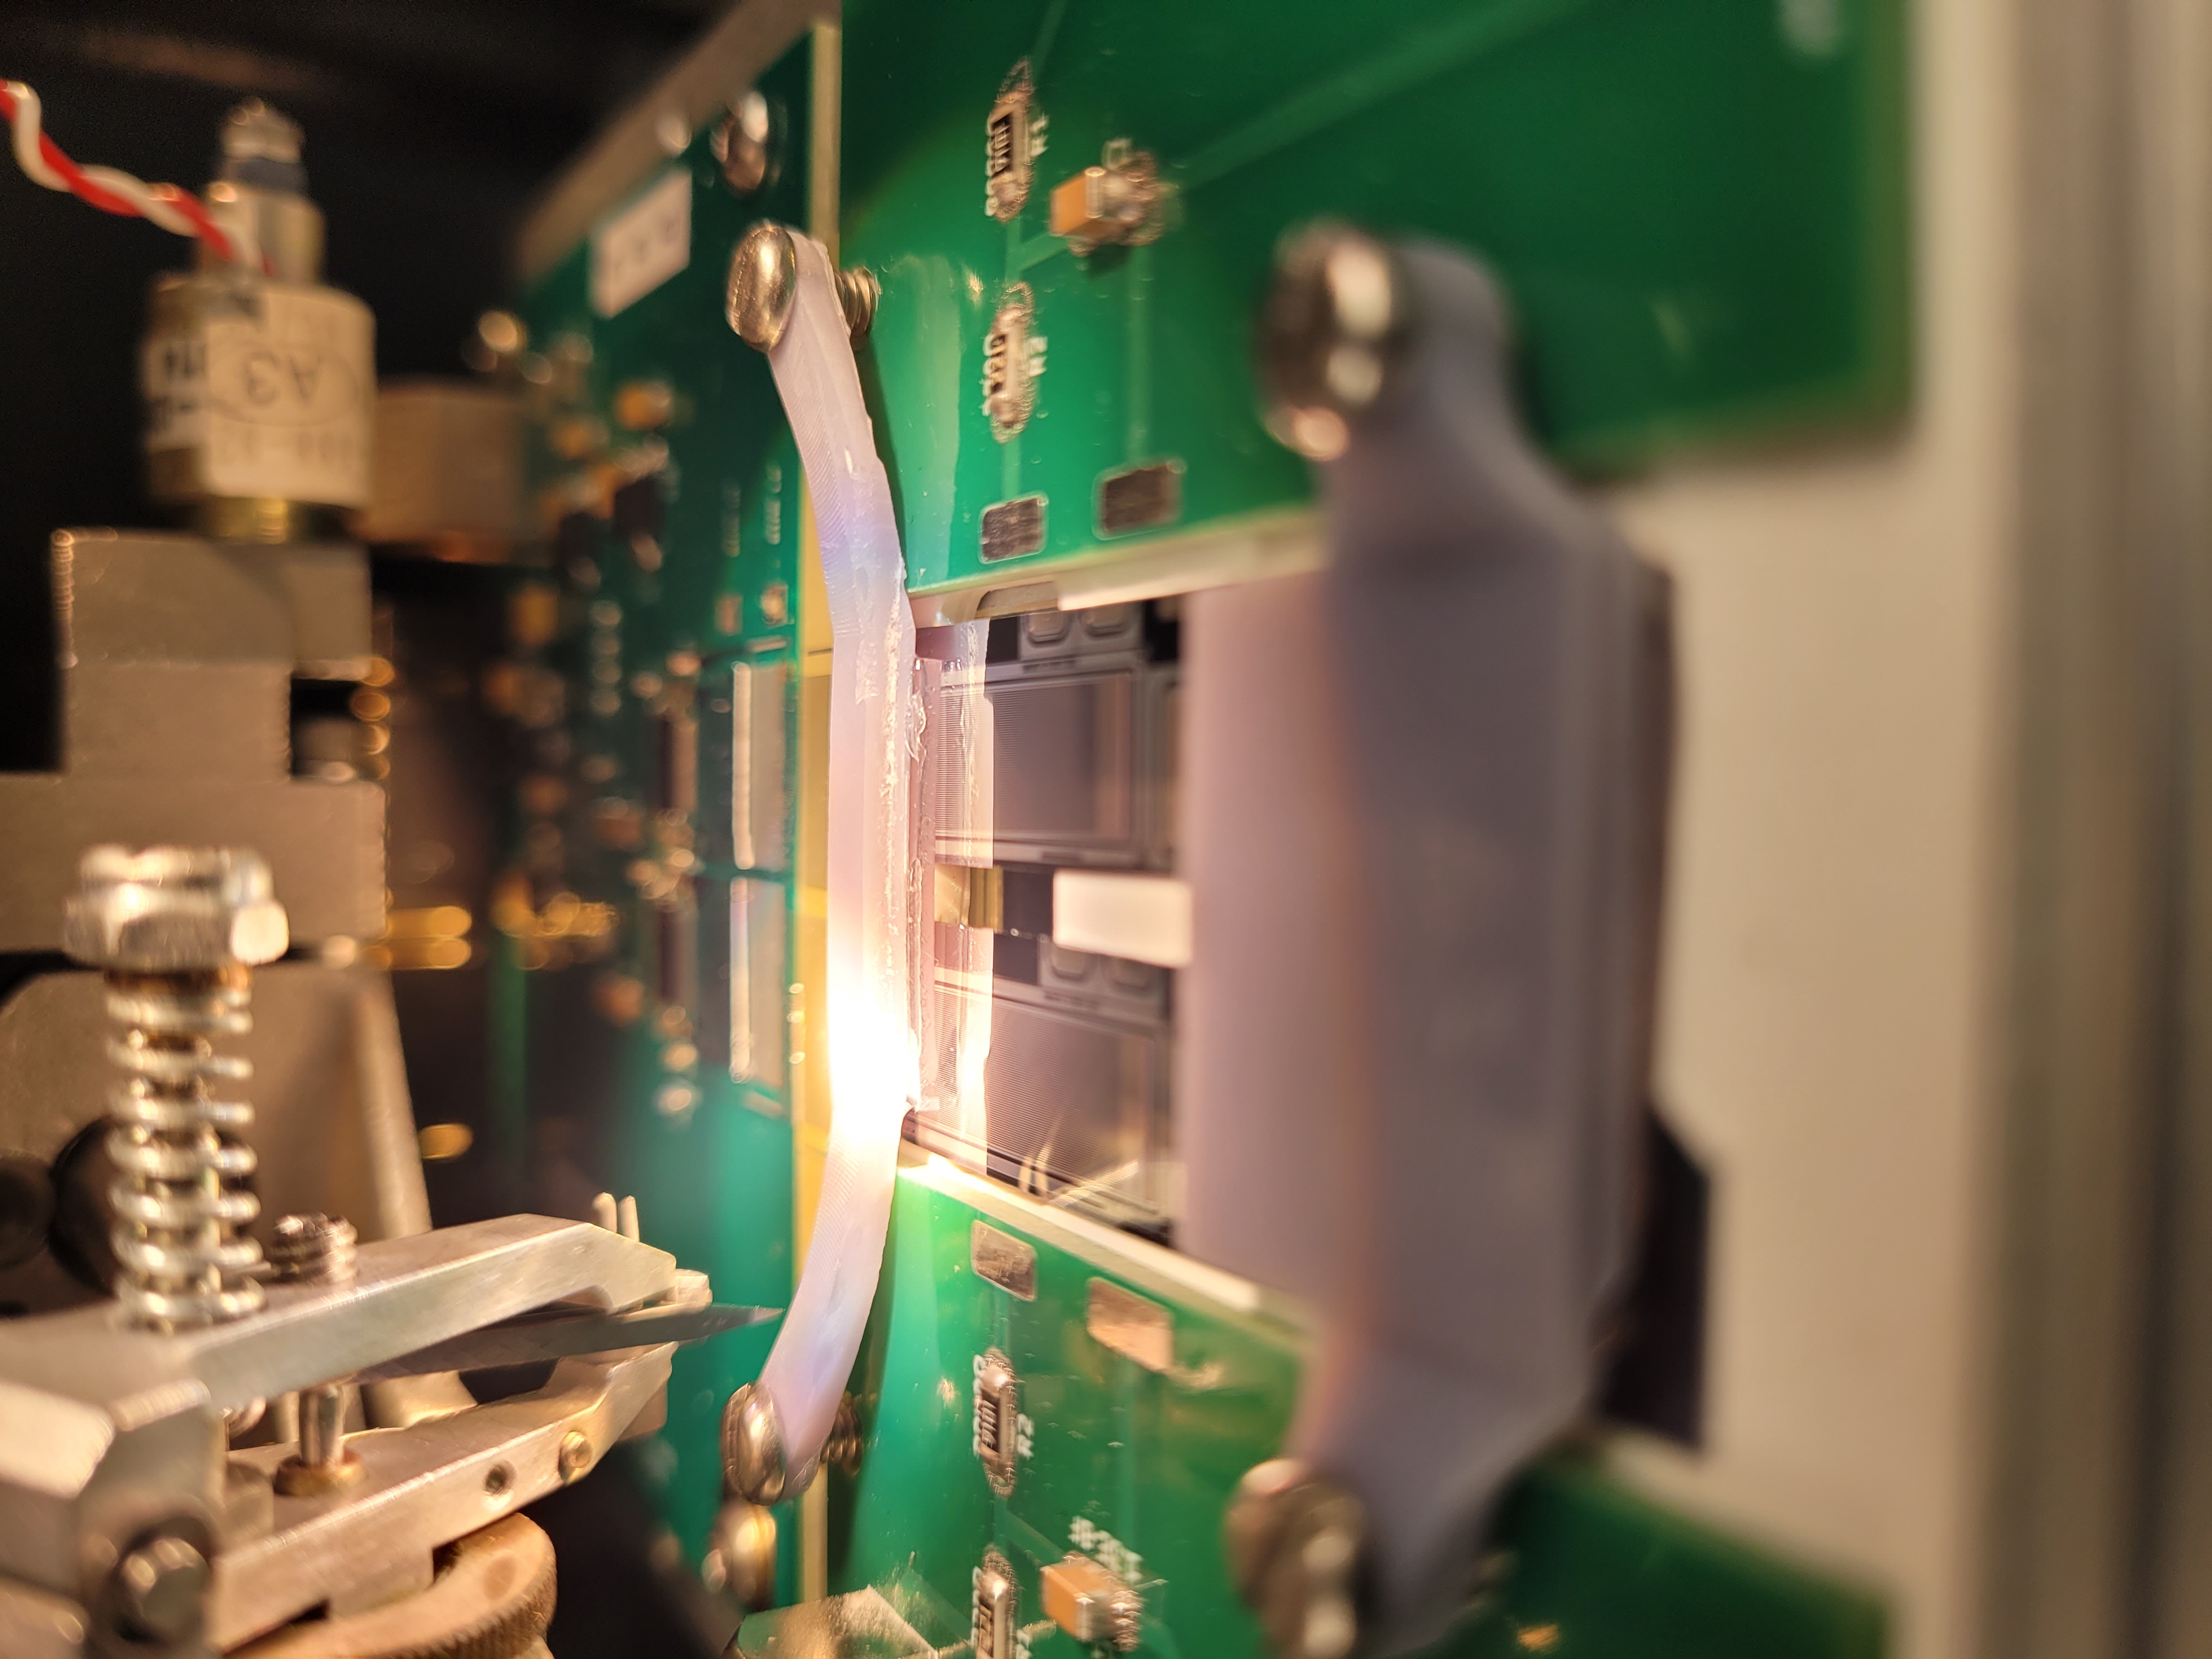
For long term testing of the 2-S and PSs sensors, we wire bond the 2S and PSs sensors to a green base plate. Two bonds are made on each sensor, one connecting the bias ring to the PCP board (copper surrounding sensor), and the other connecting the bonding surface between fiducial 5 & 6 to the PC...
Wire Bonding (half moon sensors for alibava test)
Wire Bonding (half moon sensors for alibava test)
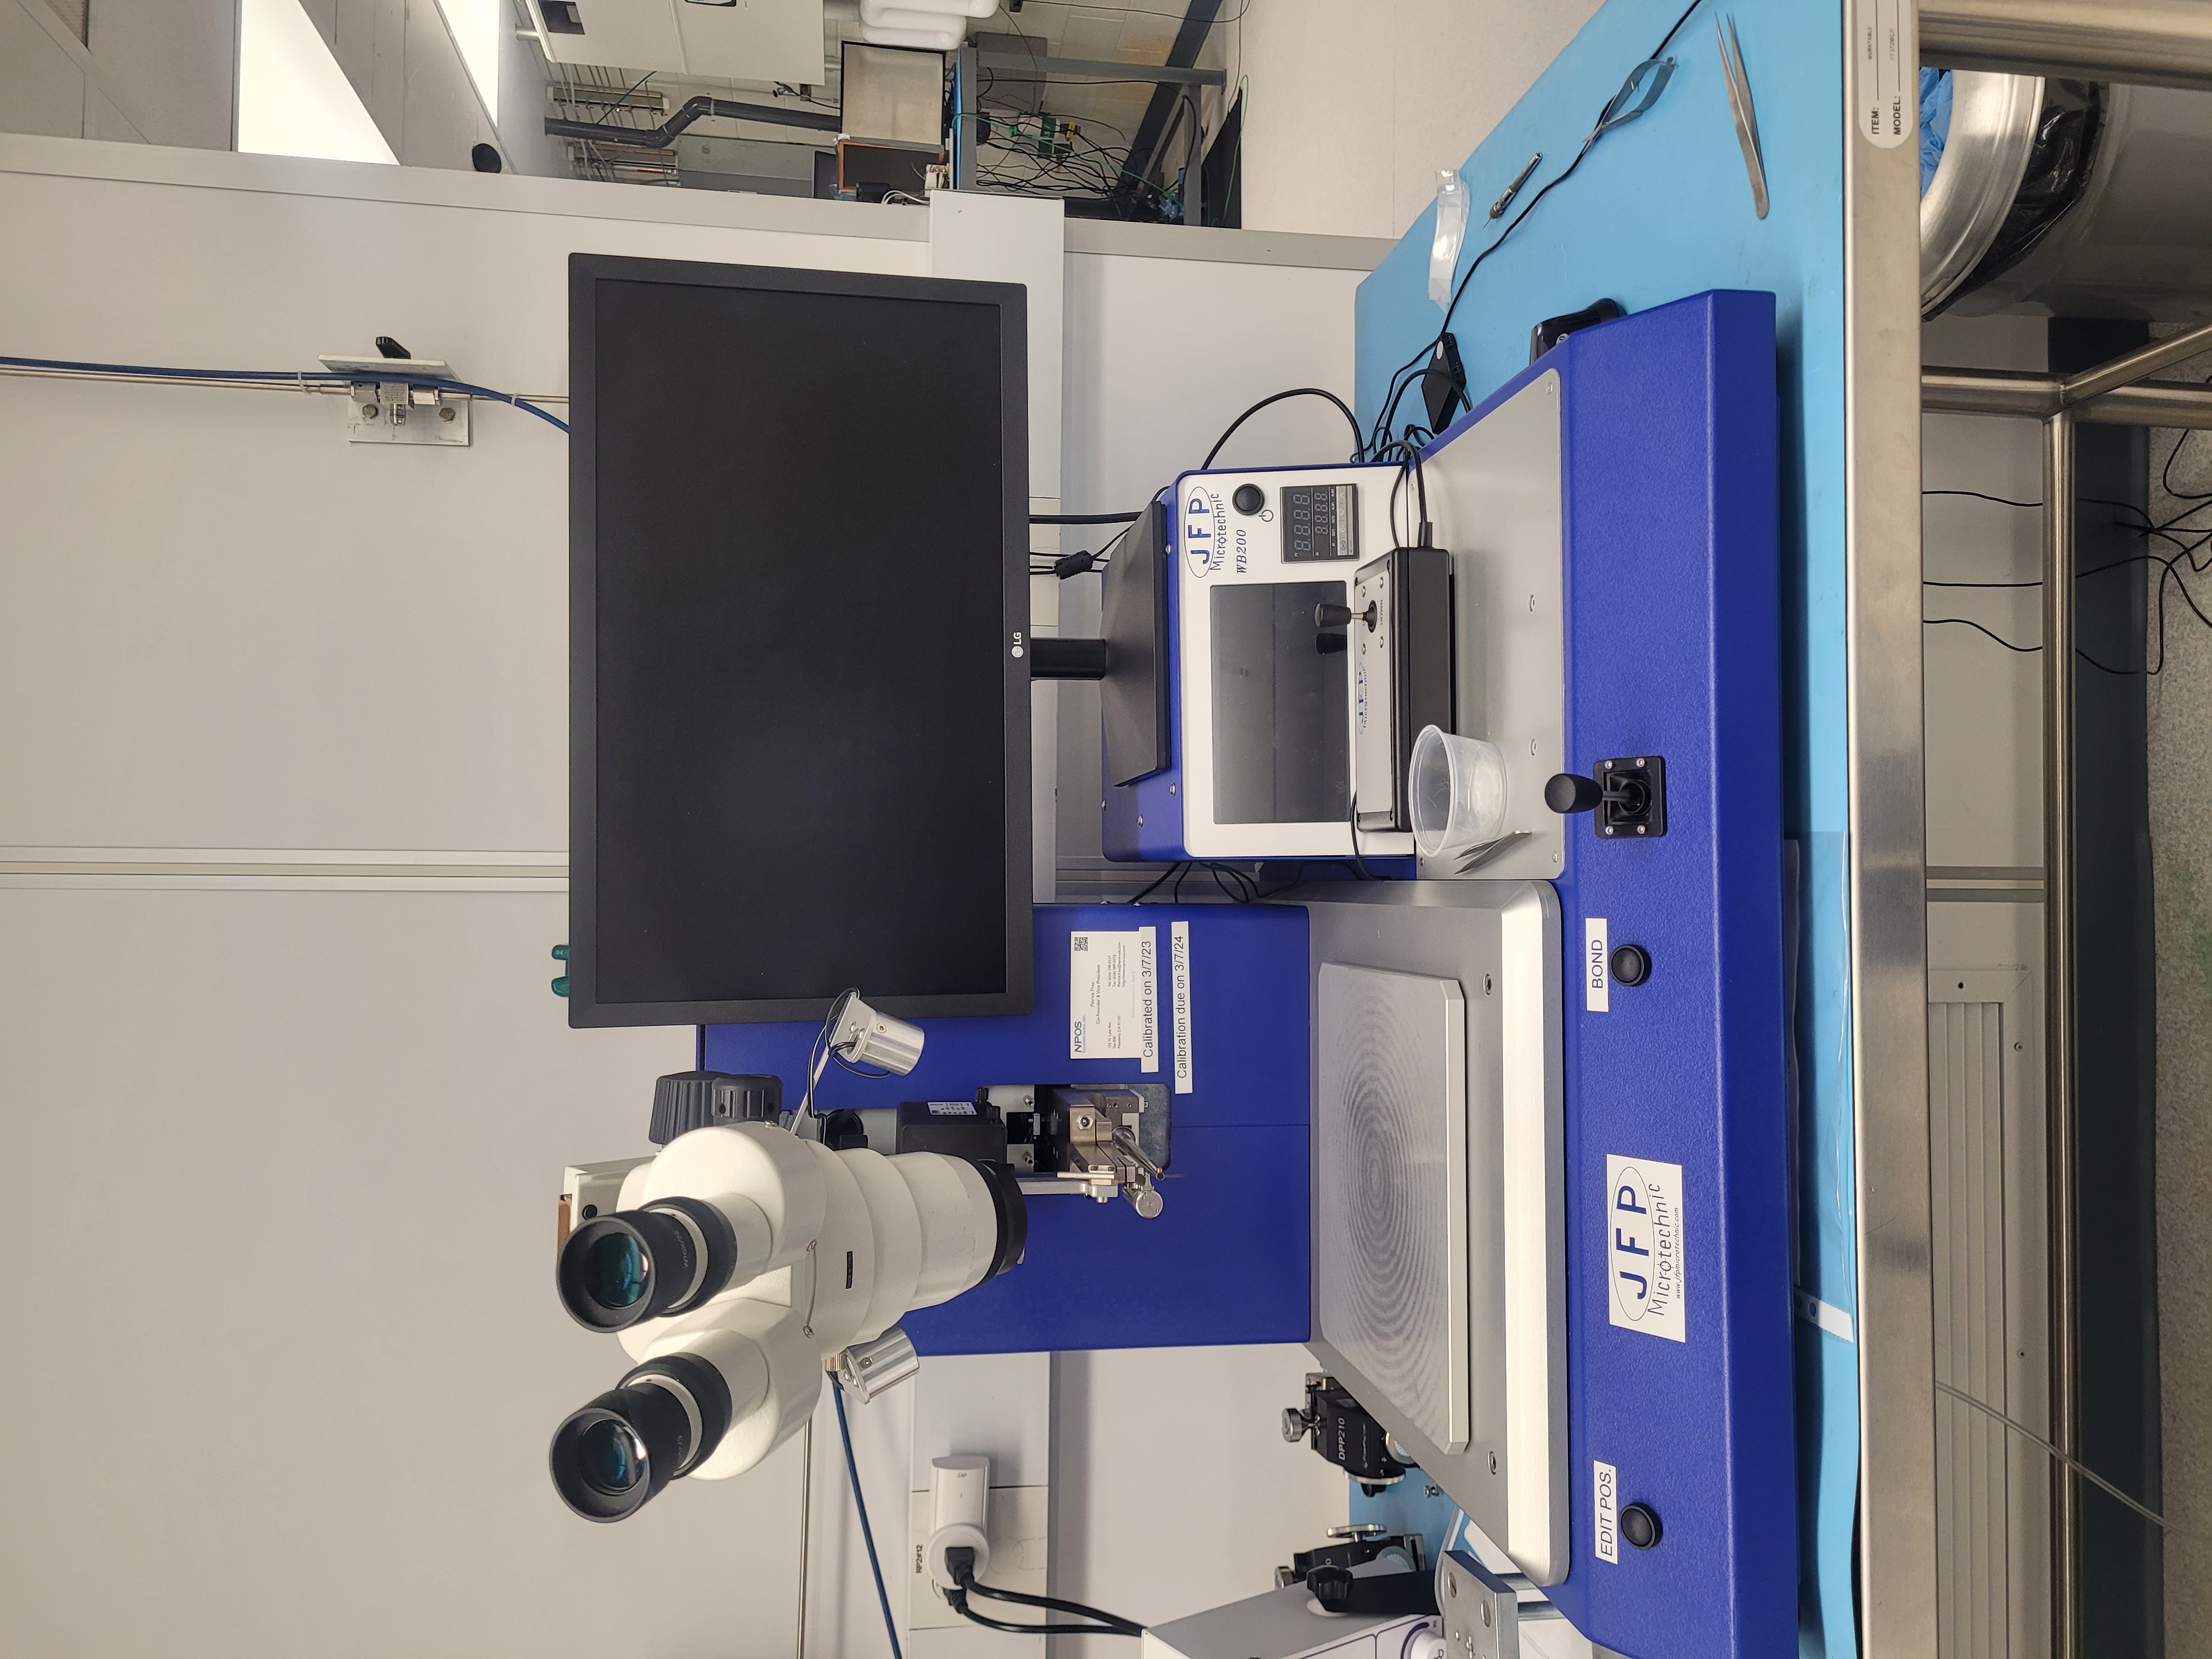
Start by turning on the computer as well as the mechanical bonder
Computer = red button on the right side
Make sure you chose the autobonding option
The computer should show the microscopic view, the tablet acts as a sort of control pad, giving you options to change how...
Smartscope Visualization inspection
Smartscope: Visualization inspection
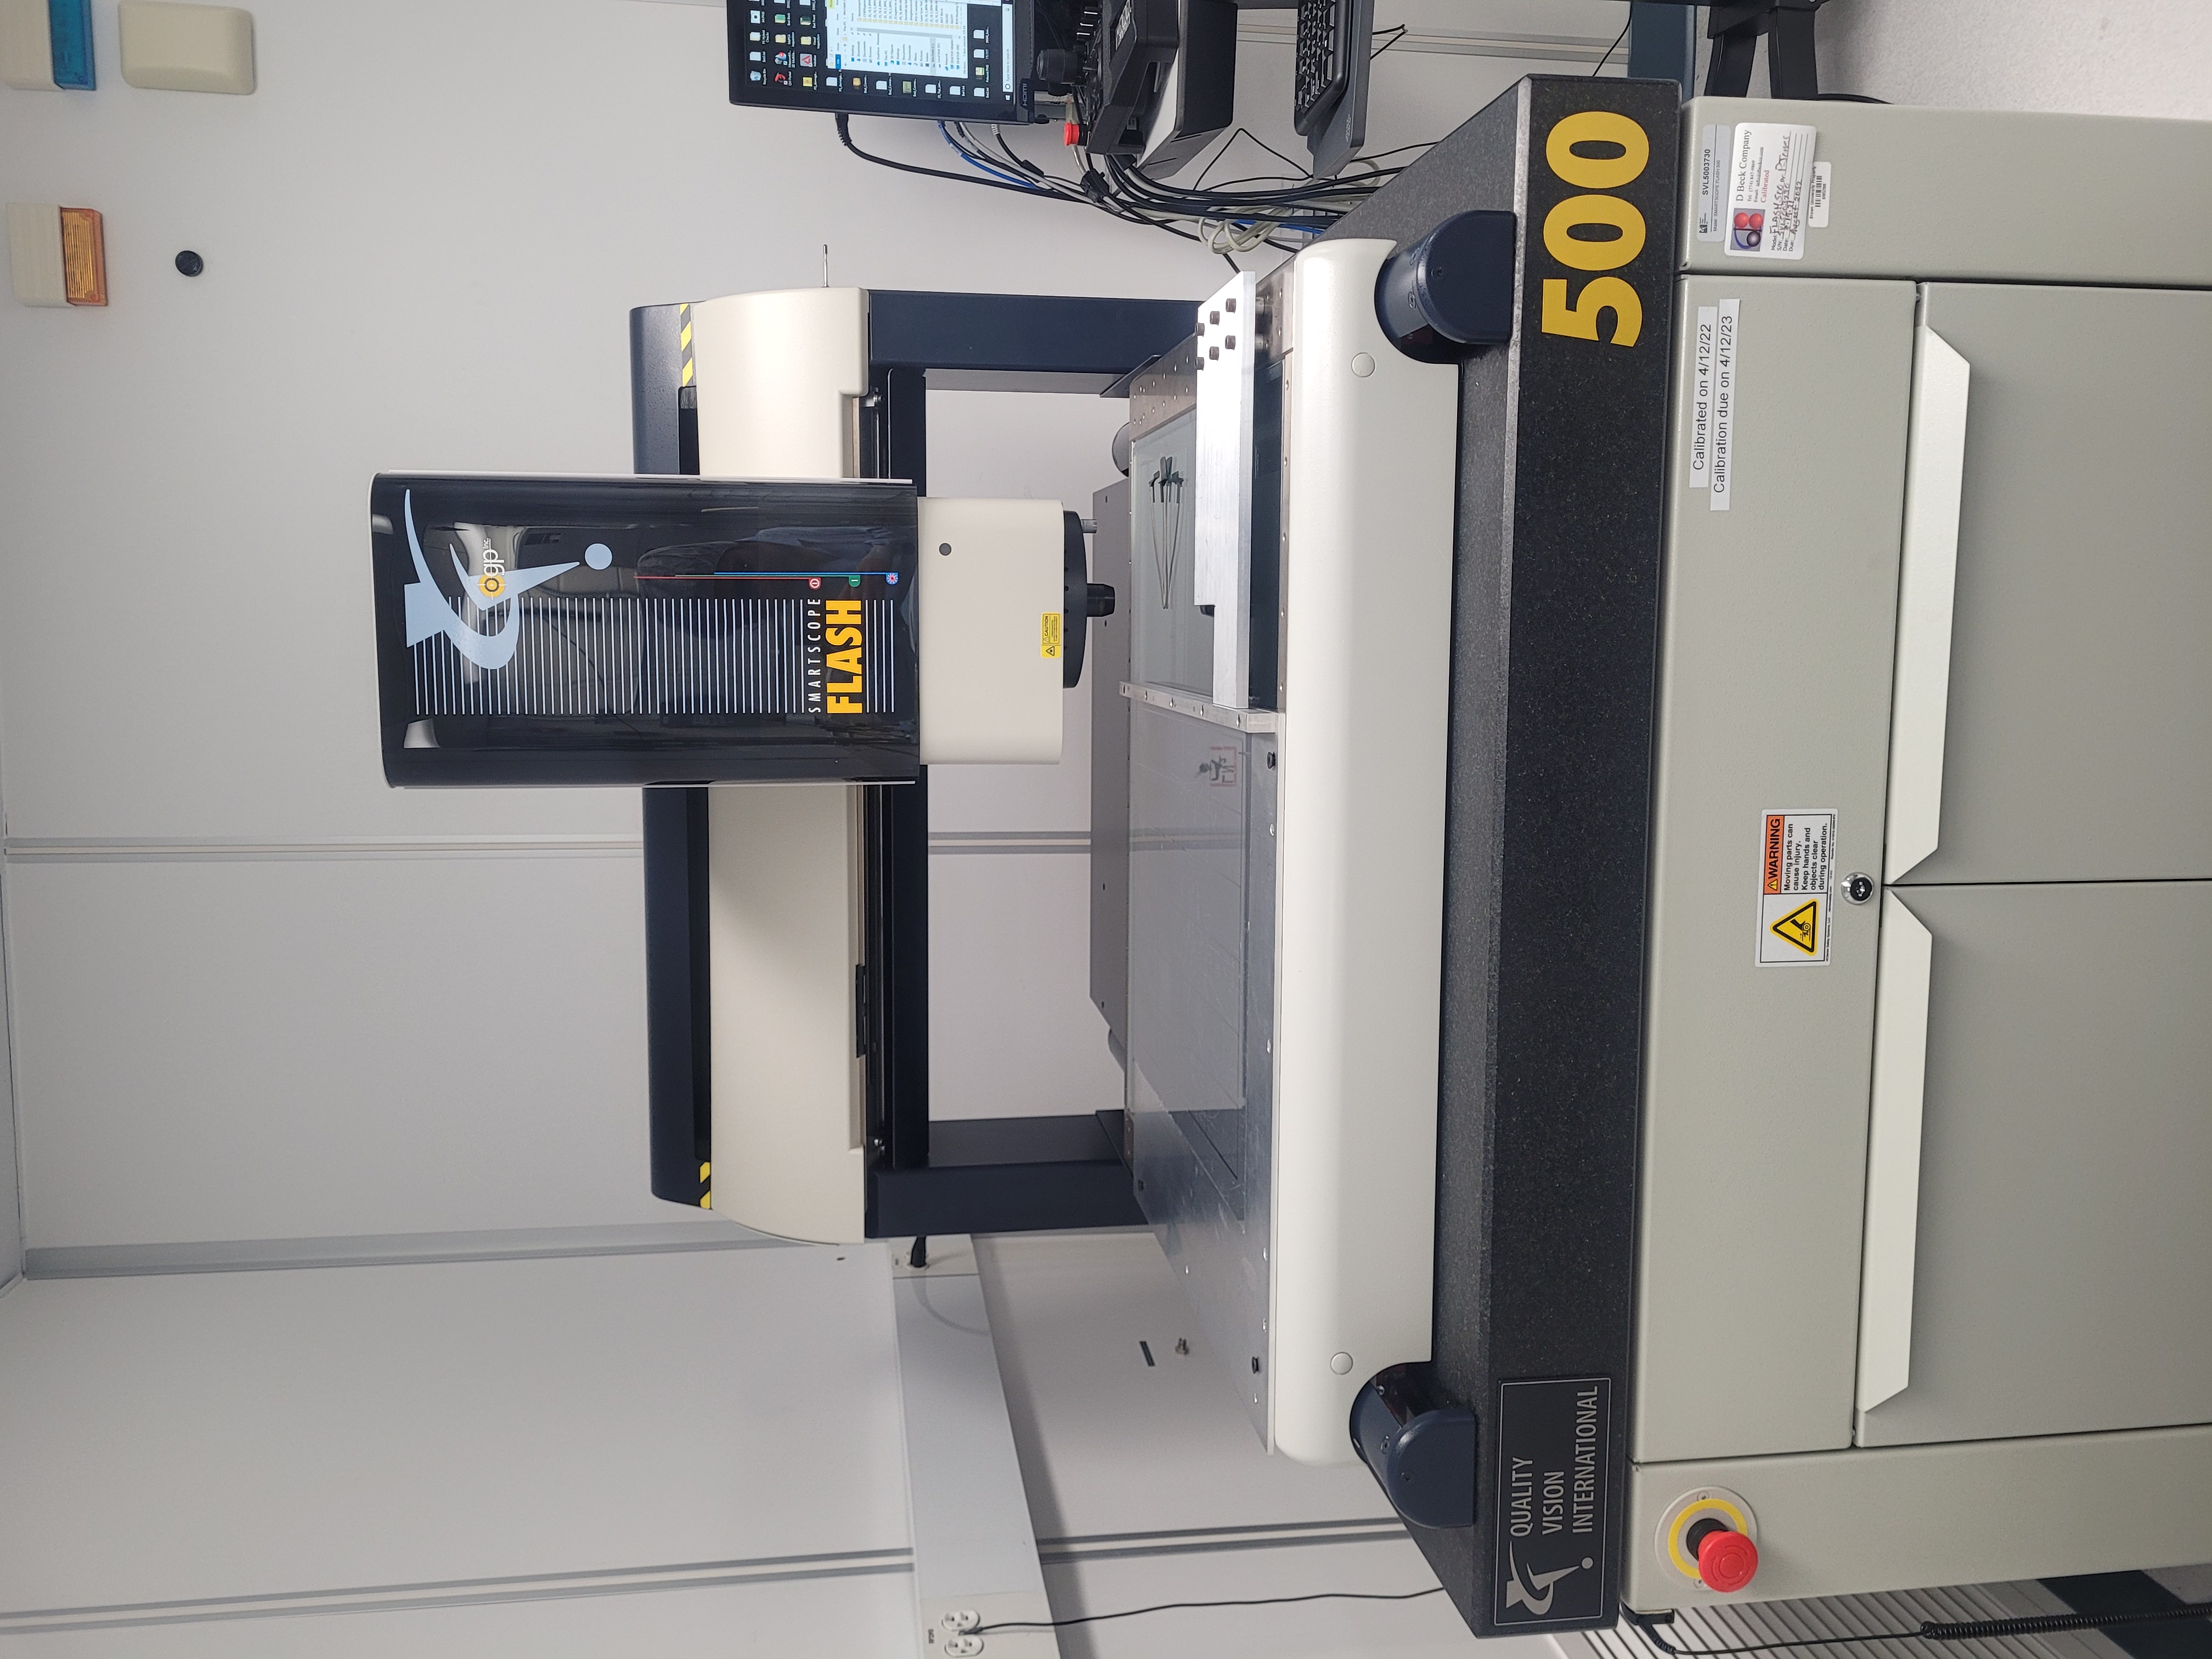
We use the Laser scanning tool to calculate changes in height along the bond pads on hybrids and sensors as well as to see if sensors have any bowing present (not perfectly flat). This is done as part of the final inspection for 2S and PSS modules and has recently been integrated into the visual insp...
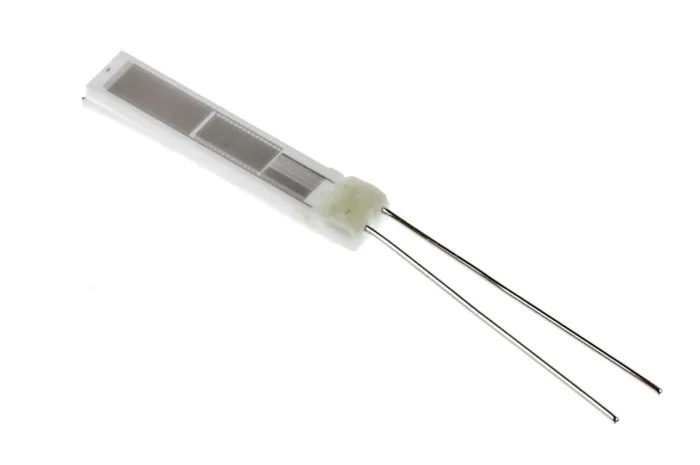
RTDS
Making RTDS
Make the 20 foot long twisted wire
1 square tile in 550 = ~1foot
Placing a piece of painters tape on one end of the room, place the end of the wire spool down to the ground, walk 20 tiles forward, placing another piece of tape to make 20 feet, and then cut the wire. Do this twice to get two 20 foot copper wires
Tie a knot at...
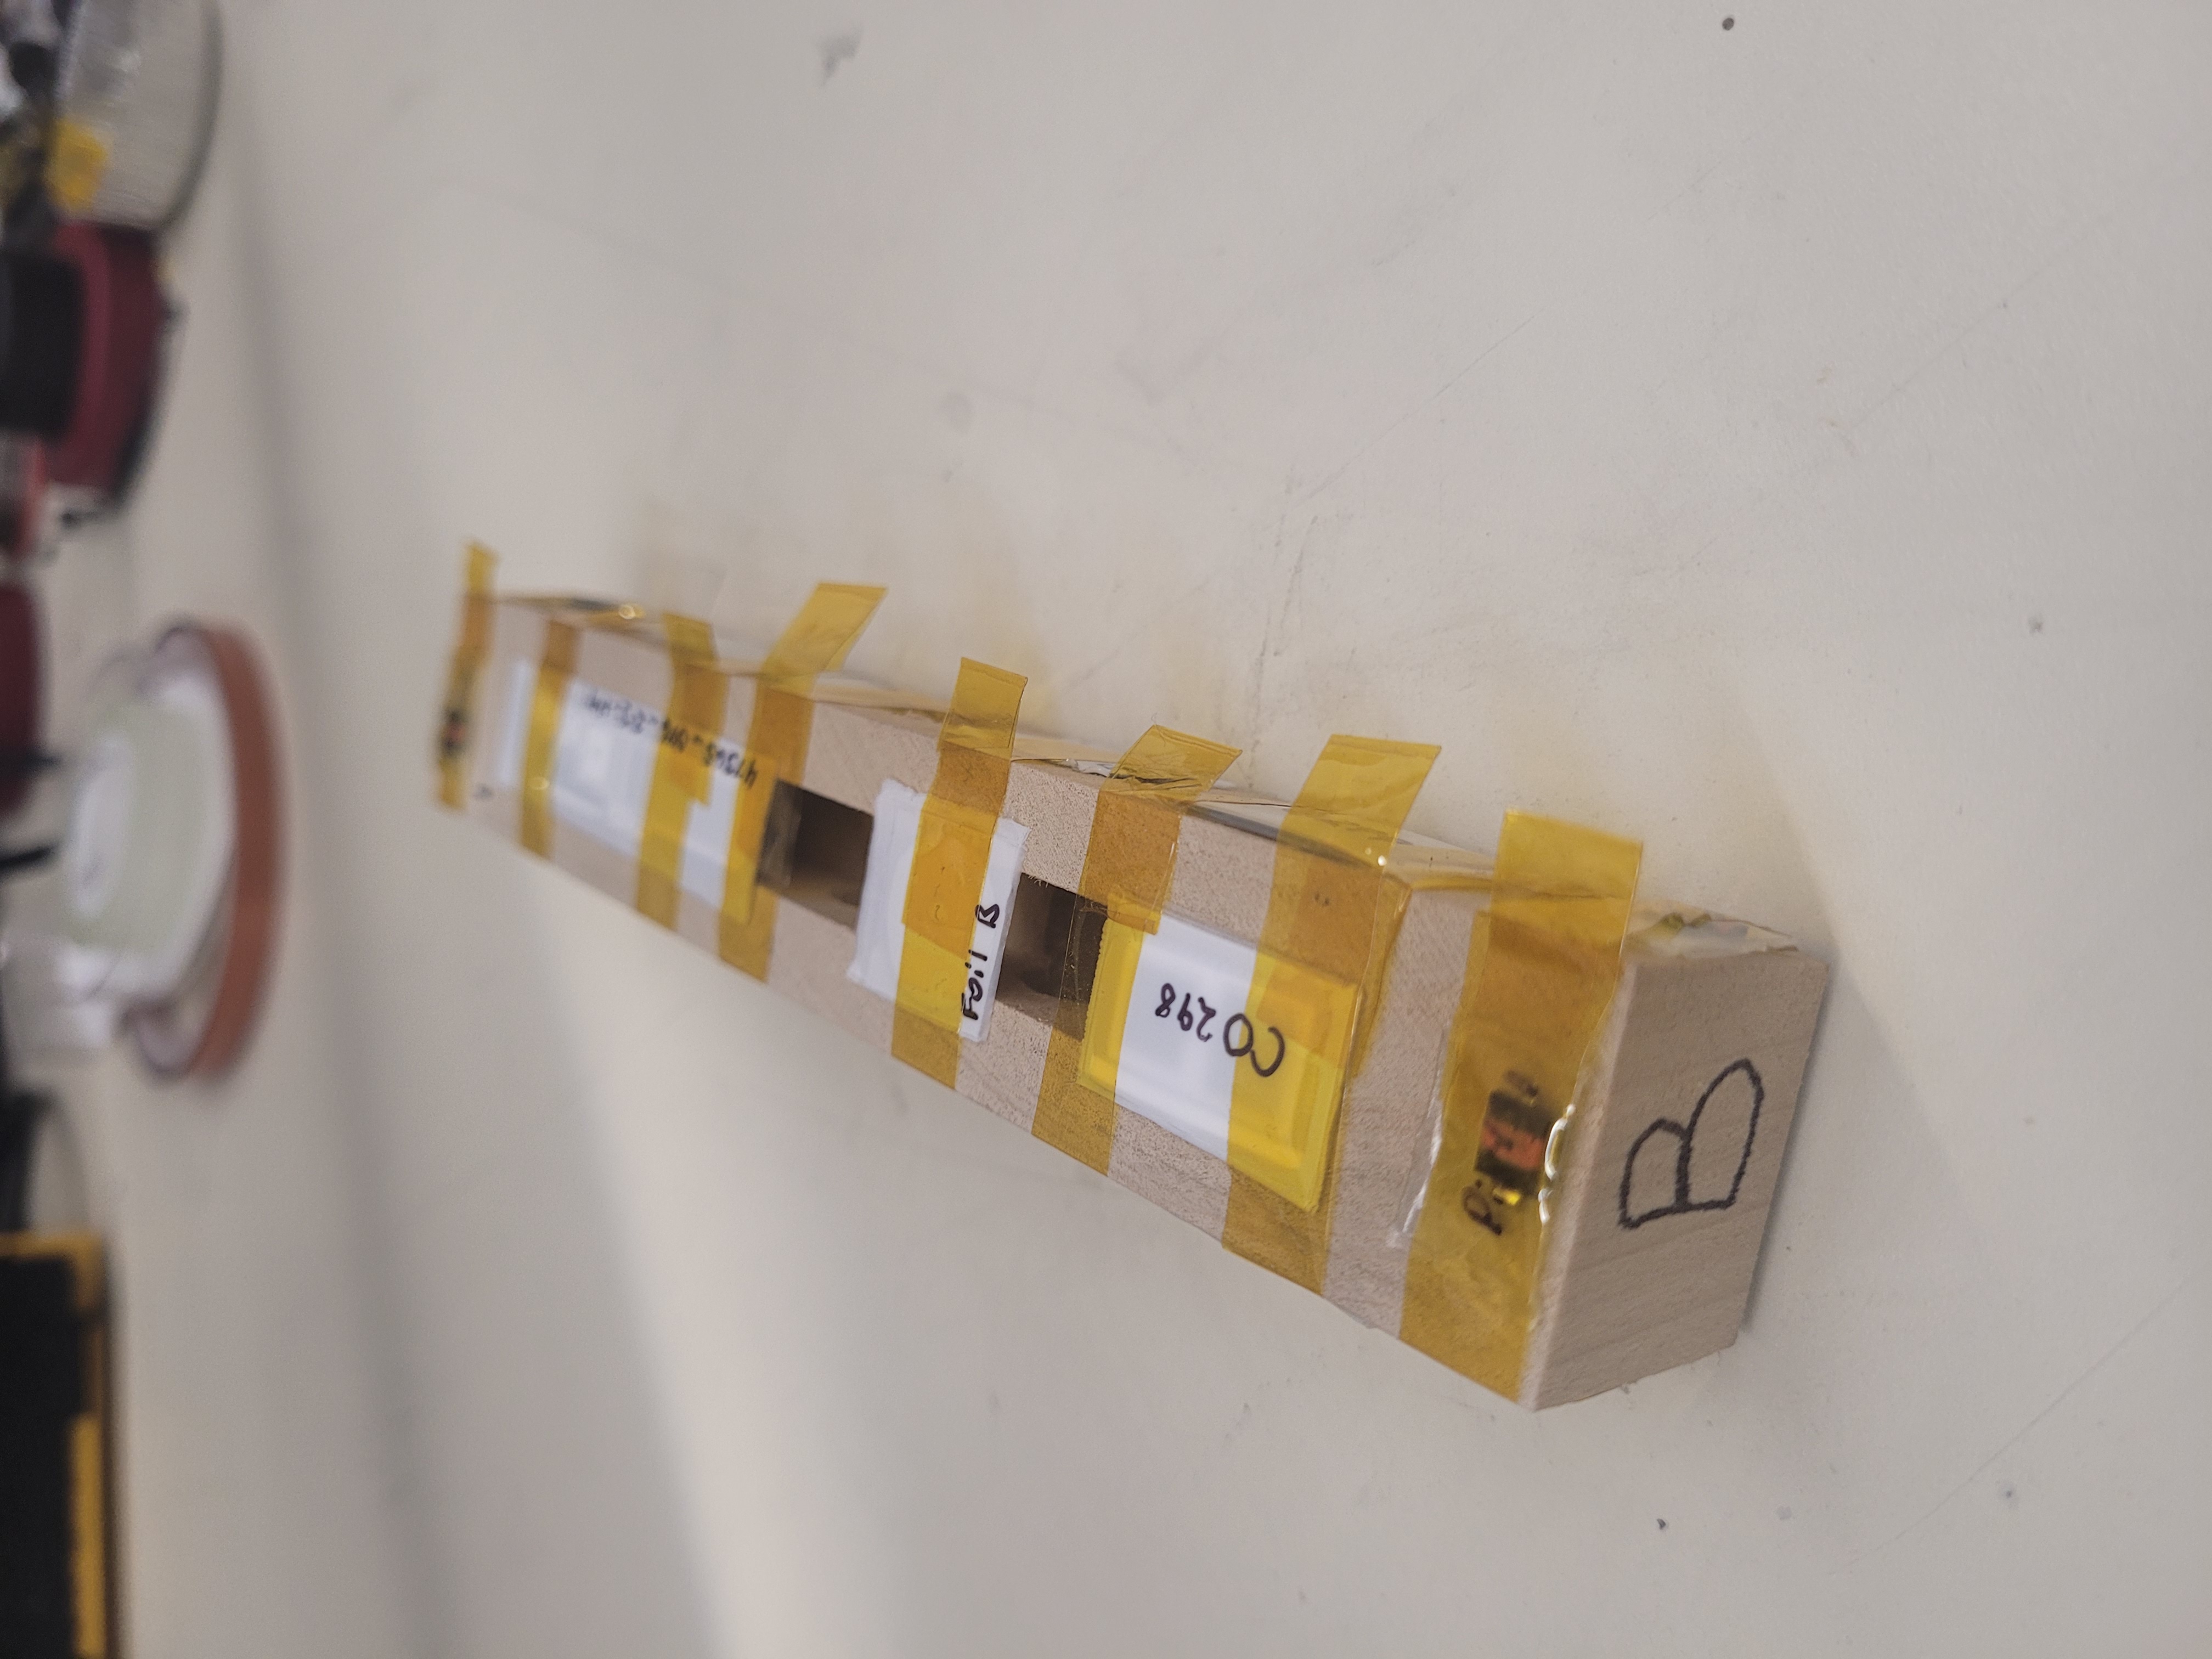
RINSC Rabbit Stick Procedure
RINSC Rabbit Stick Procedure
In the shared Google Drive, go to RINSC Irradiations
Create a new folder for the rabbit you are making, and copy the text file found inside the previous rabbit stick folder. Rename both this folder and the text file with the number of this round of irradiation
In the text document, r...
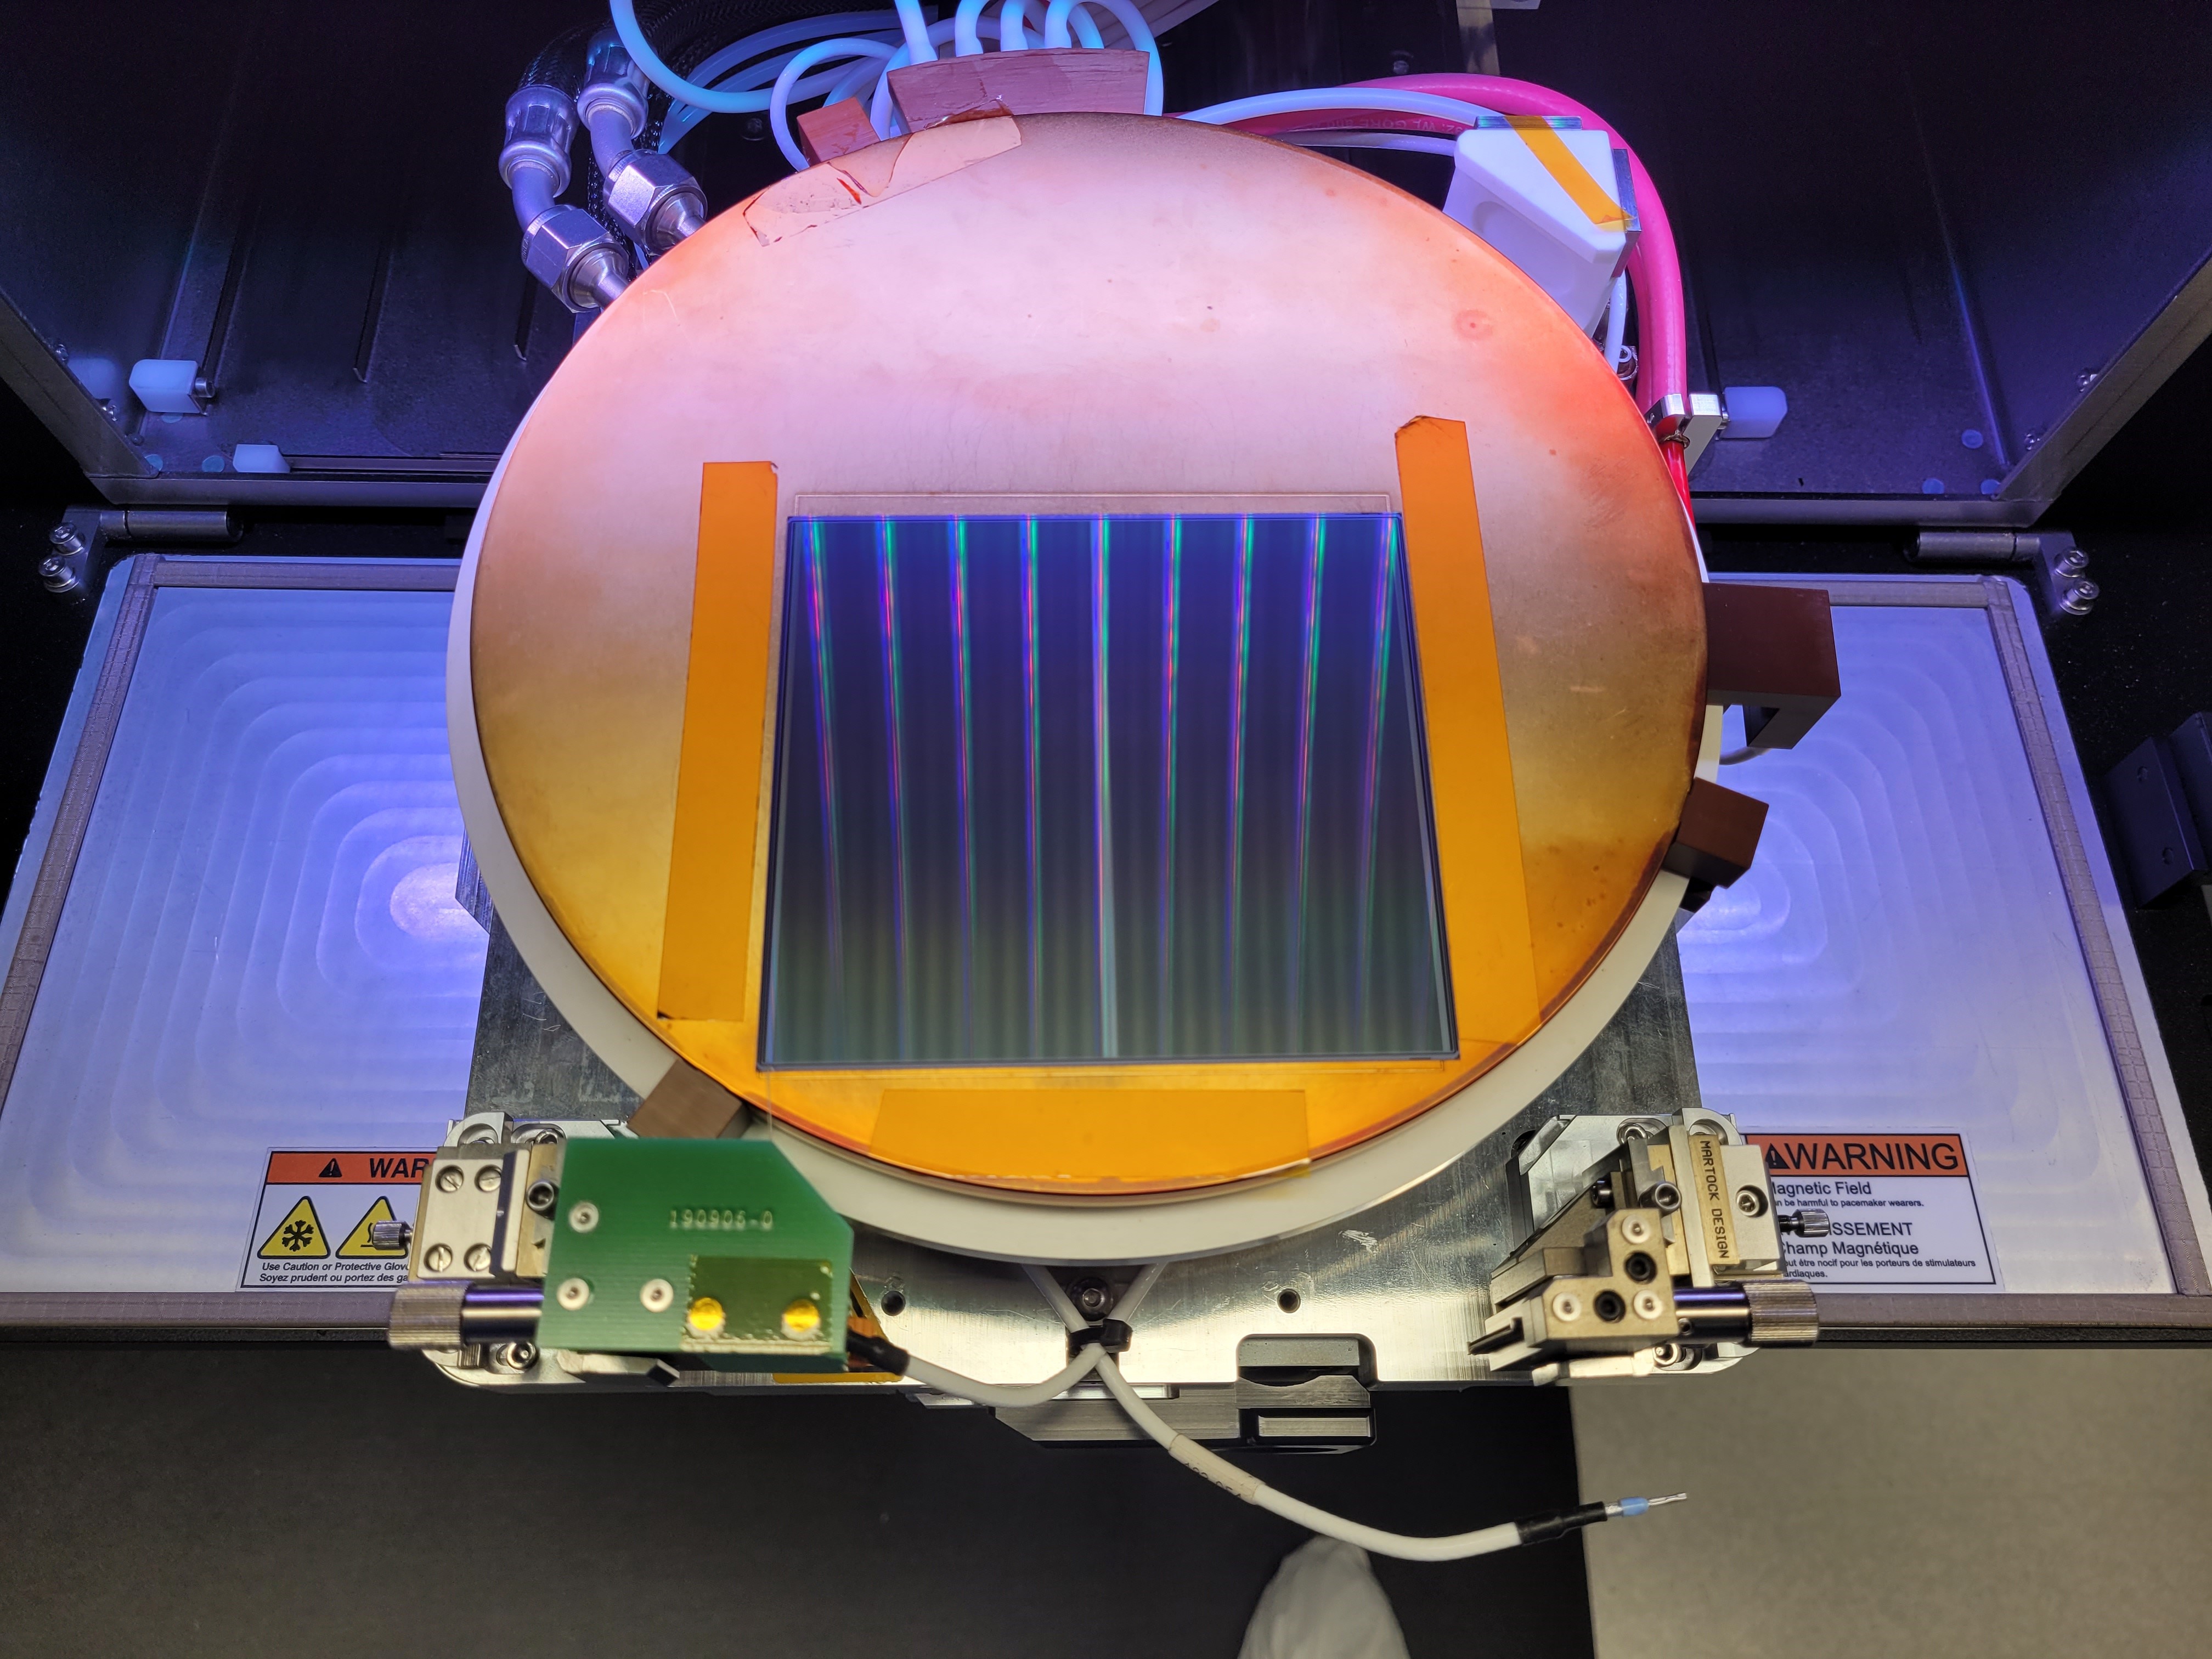
Tesla Probe Machine in Clean Room
Before starting The vacuum pen, needs to be cleaned before starting any test.
To clean the vacuum pen:
Grab a Kim Wipe and Isopropyl Alcohol (Bottle with yellow dispenser cap)
Wipe the vacuum pen’s suction cup
Dry the vacuum pen using the ion fan for 10 - 15 seconds.
This will ensure that the vacuum pen doesn’t transfer any dust to the...
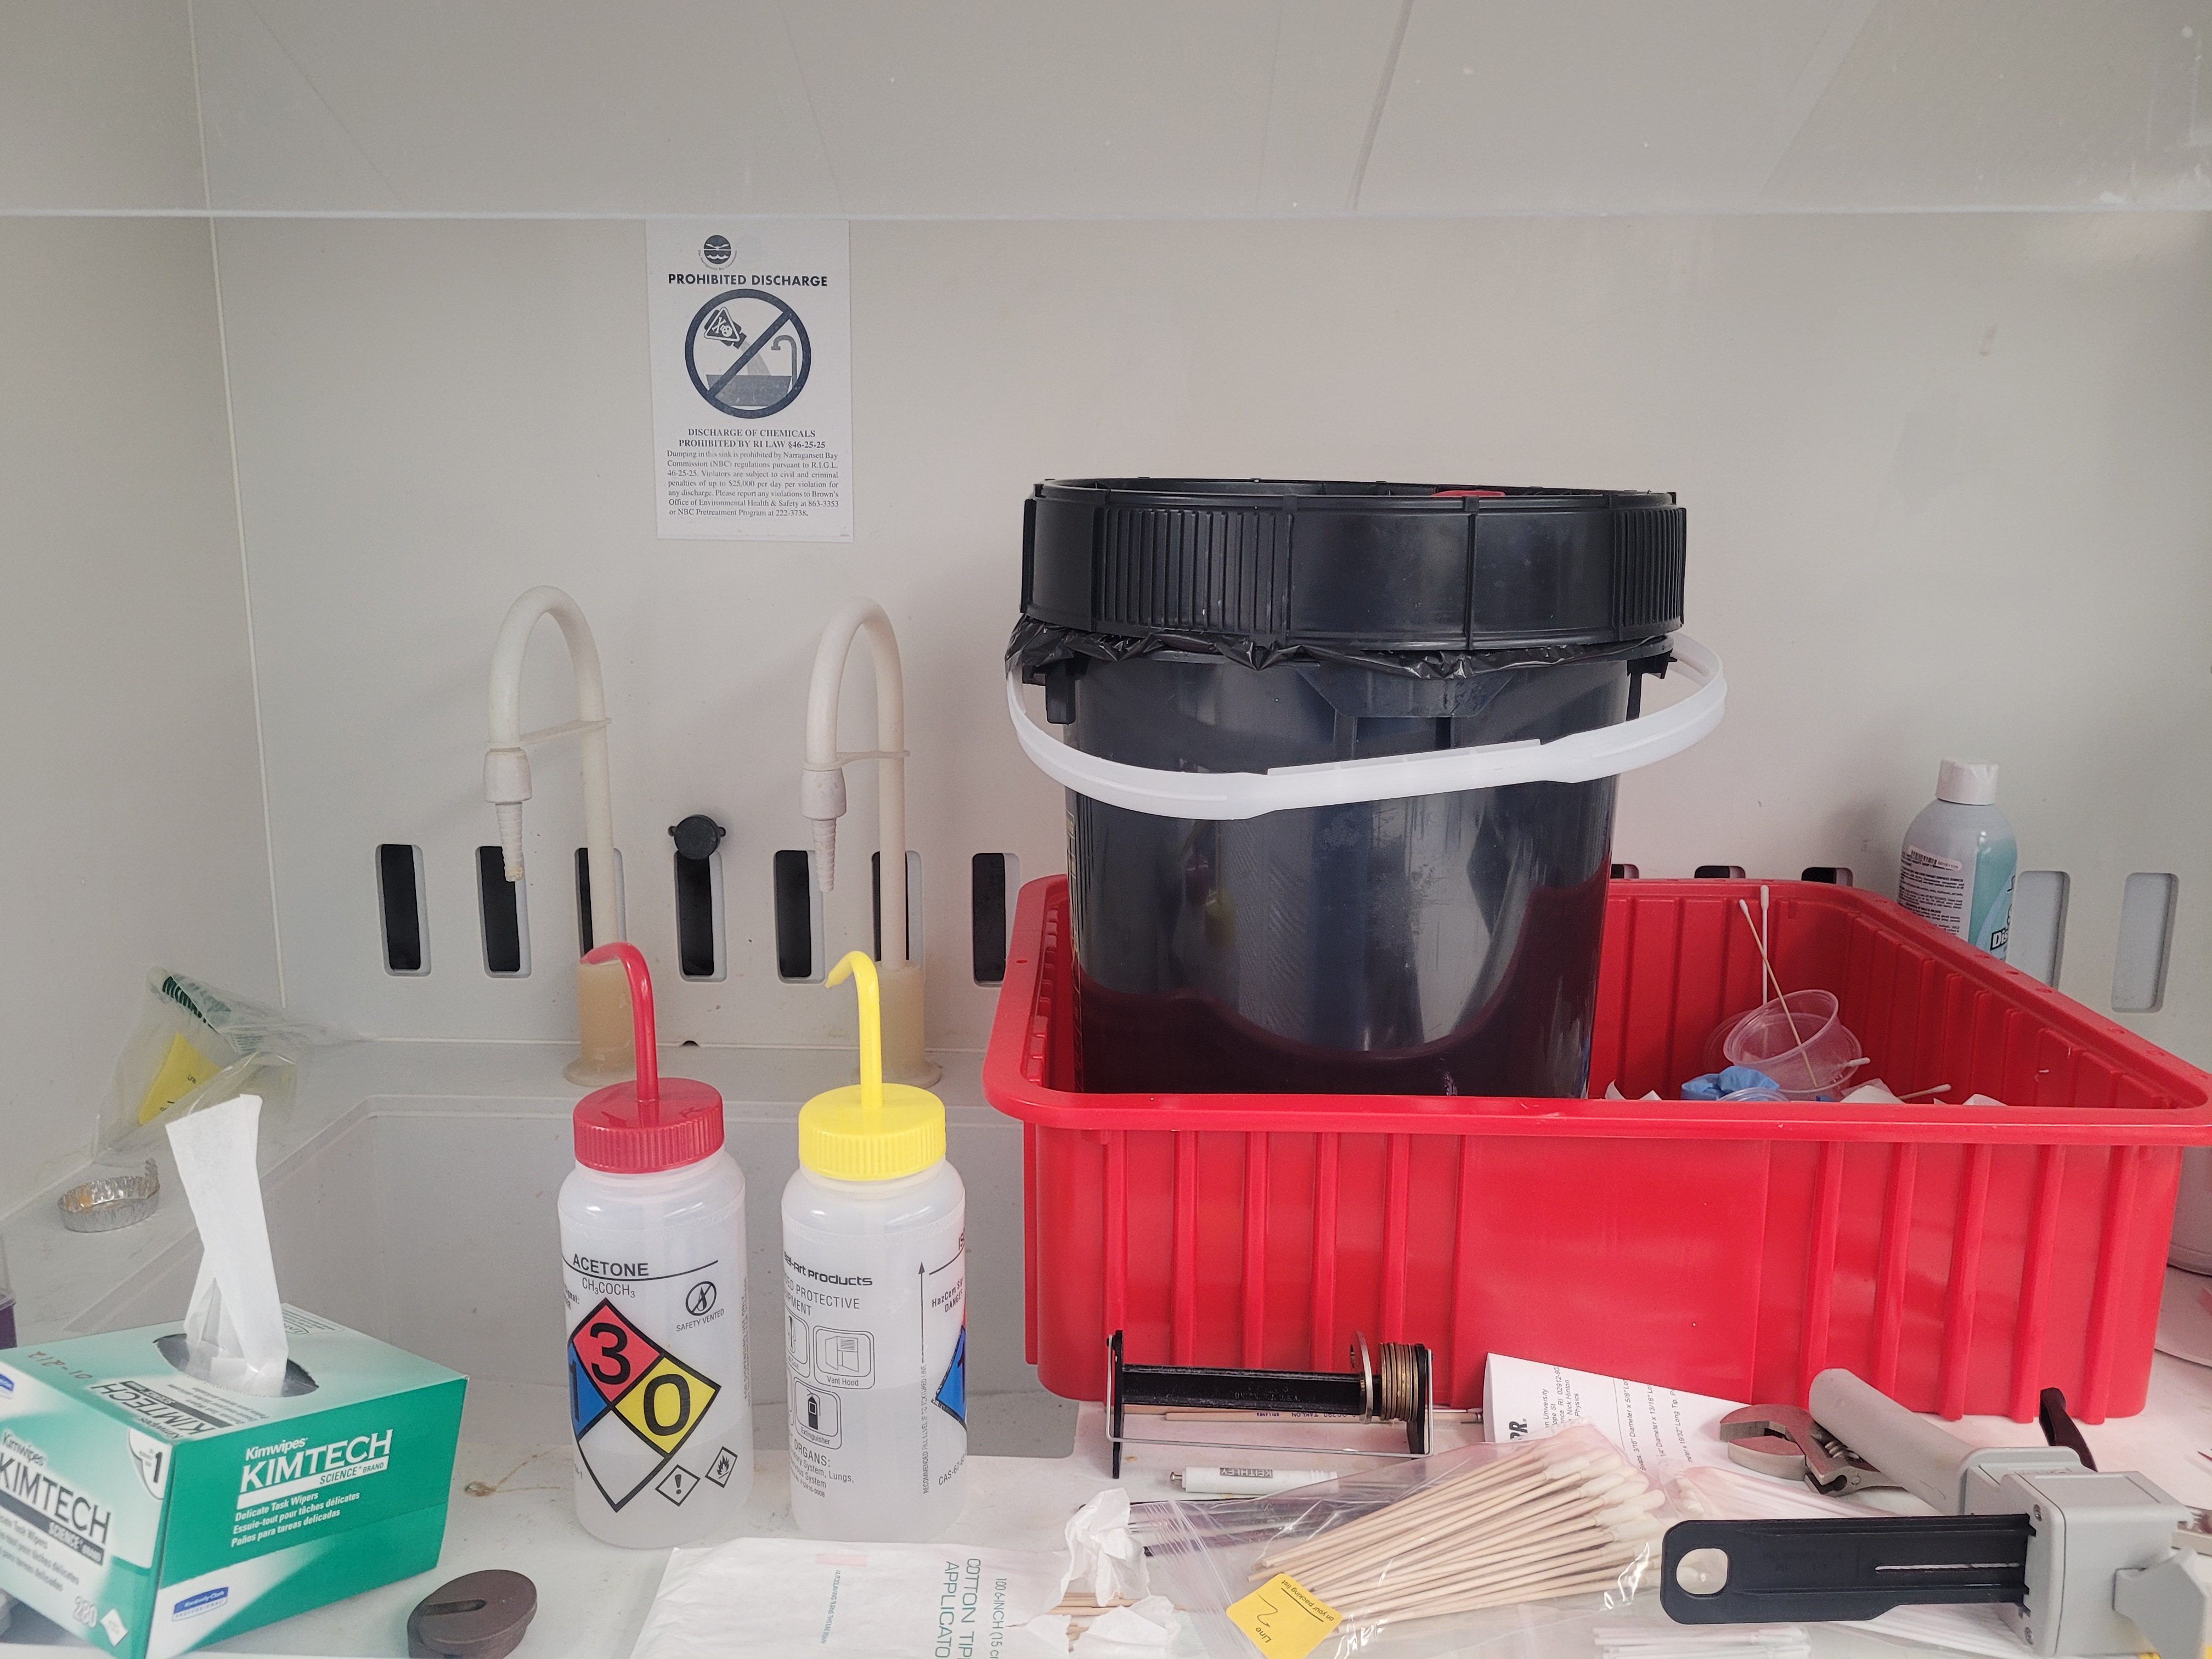
Hazardous Waste Removal EPOXY
Hazardous Waste Removal: EPOXY
Go to: Waste Pick Requests
Select the Request Waste Removal Form
Generator: Nick/me
PI: Ulrich
The pickup location is autofilled in (B&H 703)
Waste type: not specified
Physical state: solid
Detailed description/comments: 2 part epoxies used in module assembly a...
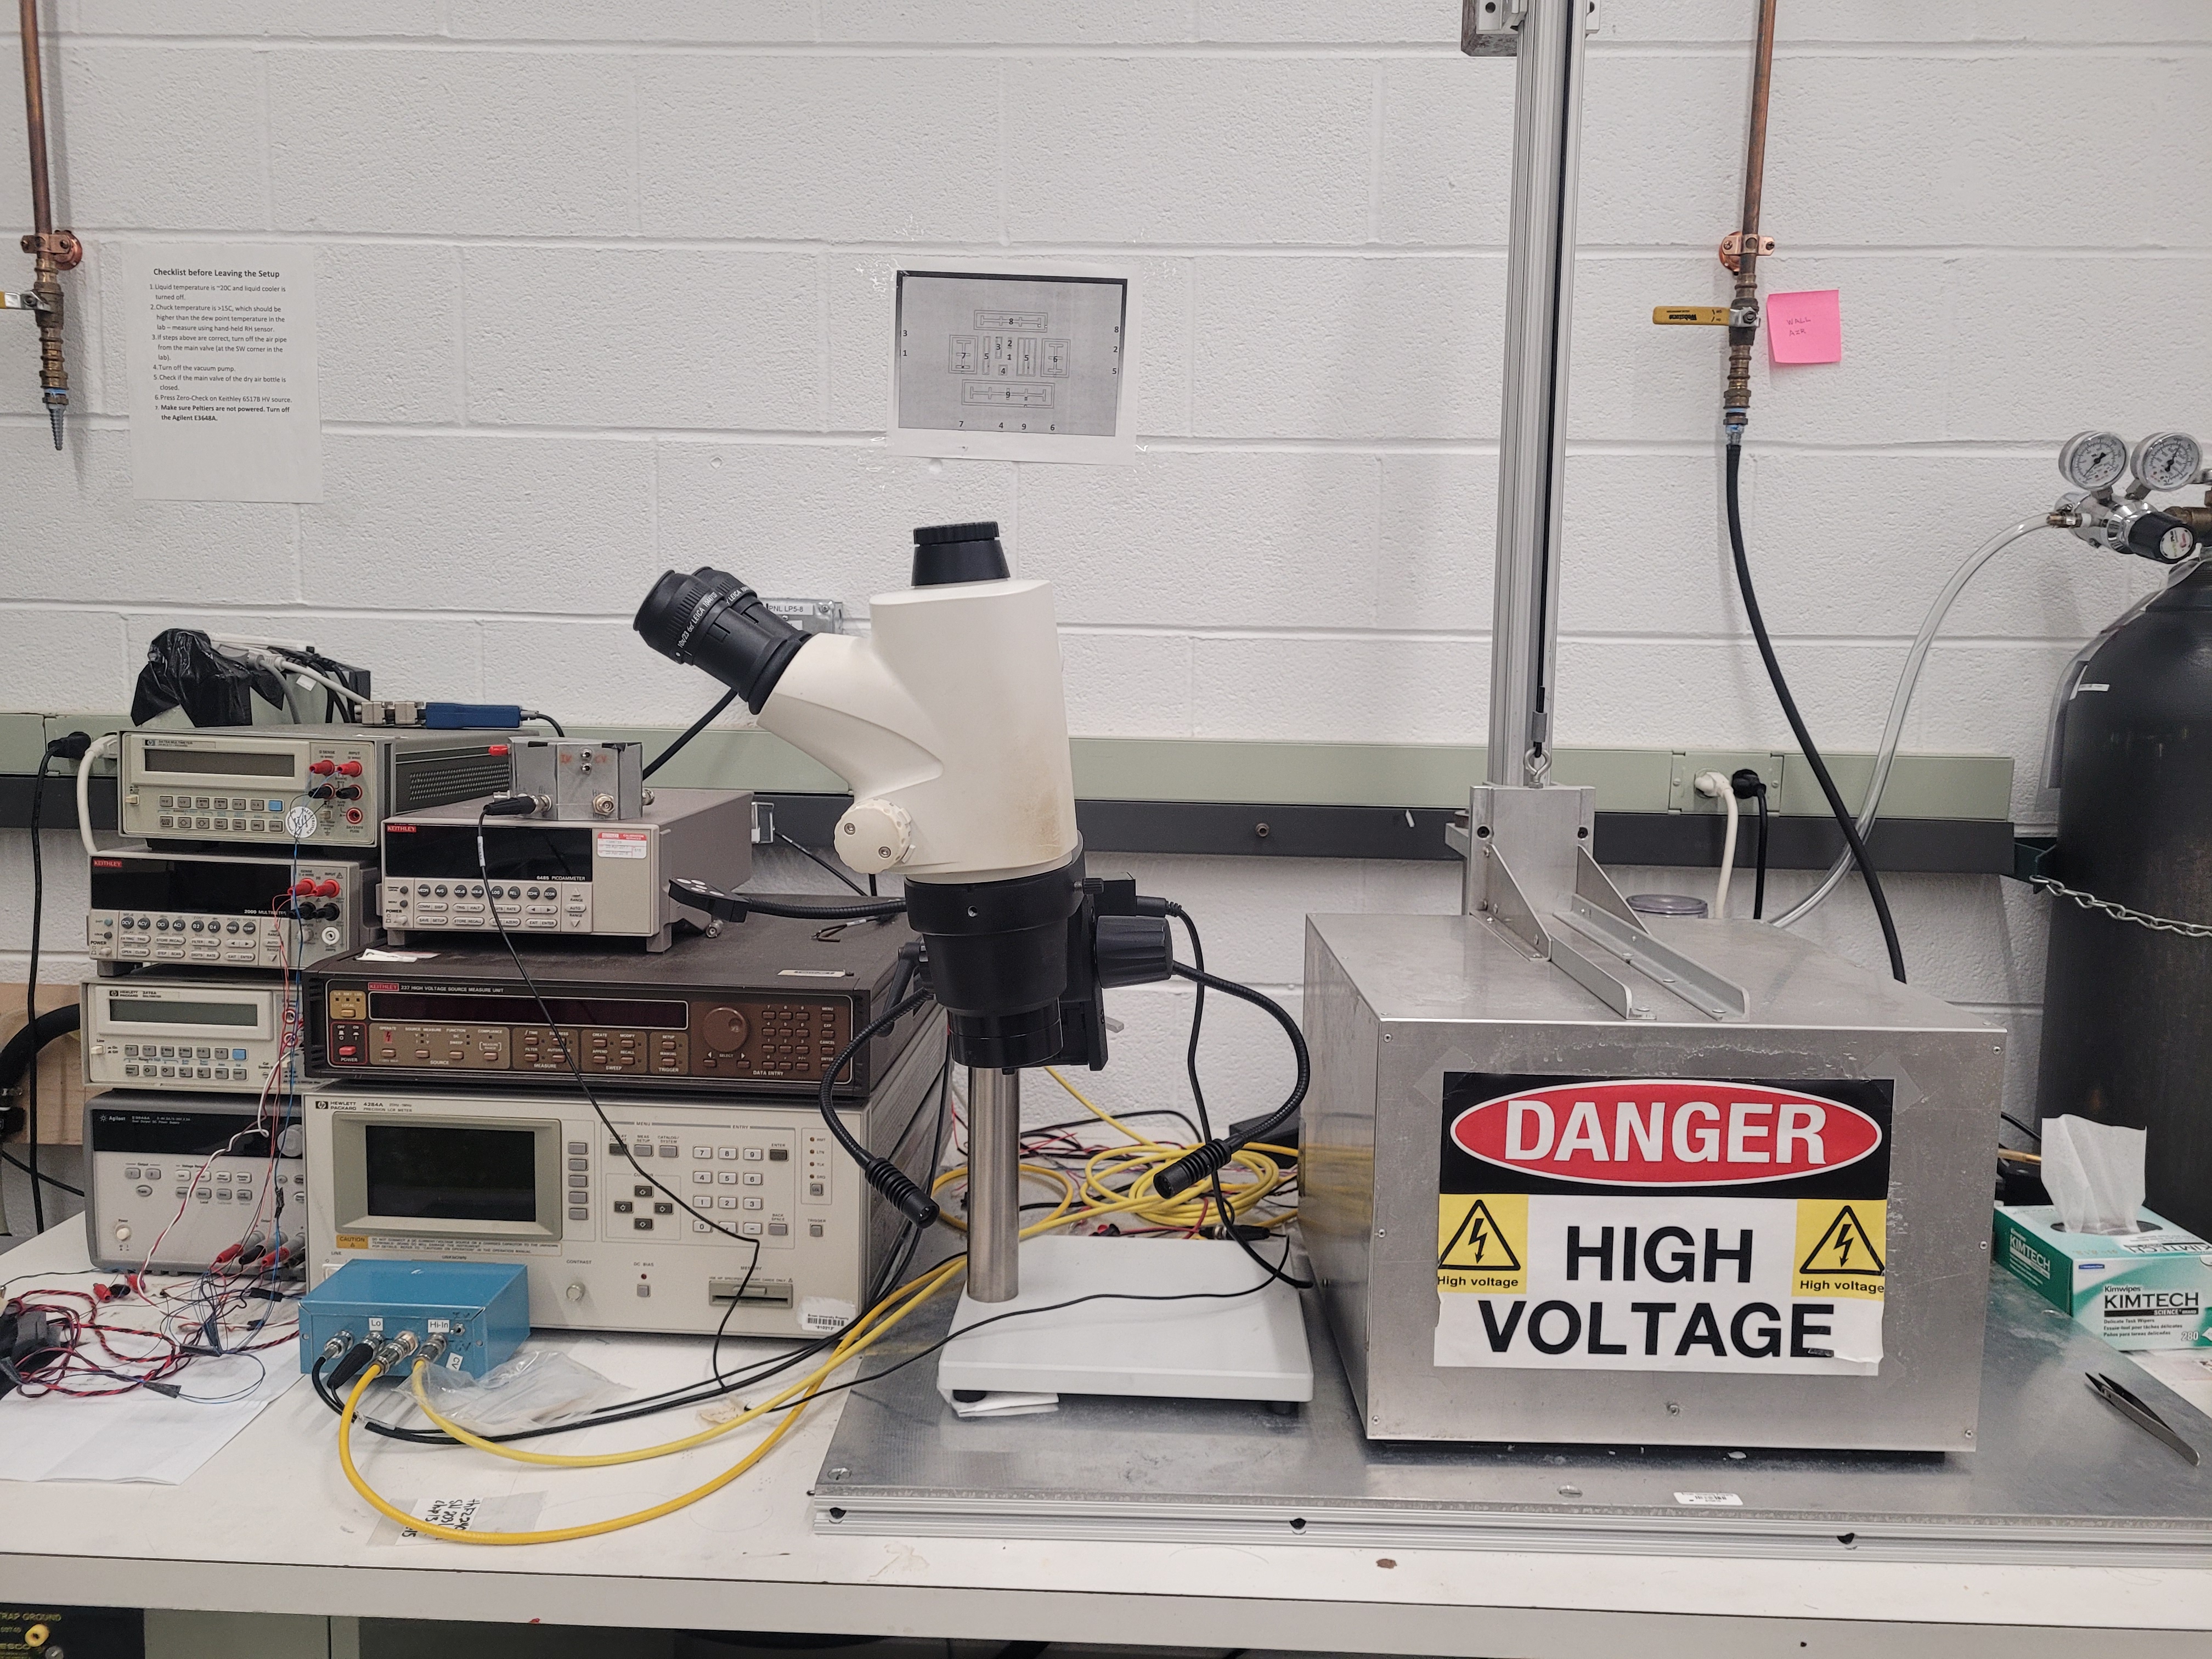
CV/IV Station (550 Lab)
CV/IV Station
The CV/IV station is built for measuring currents in silicon-based diode sensors and pin diodes, as well as for applying and controlling voltage to the chuck or diode, with integrated environmental control.
CV/IV stands for:
CV: Capacitance vs Voltage
IV: Current vs Voltage
Safe Handling Rules:
Always use gloves when handl...
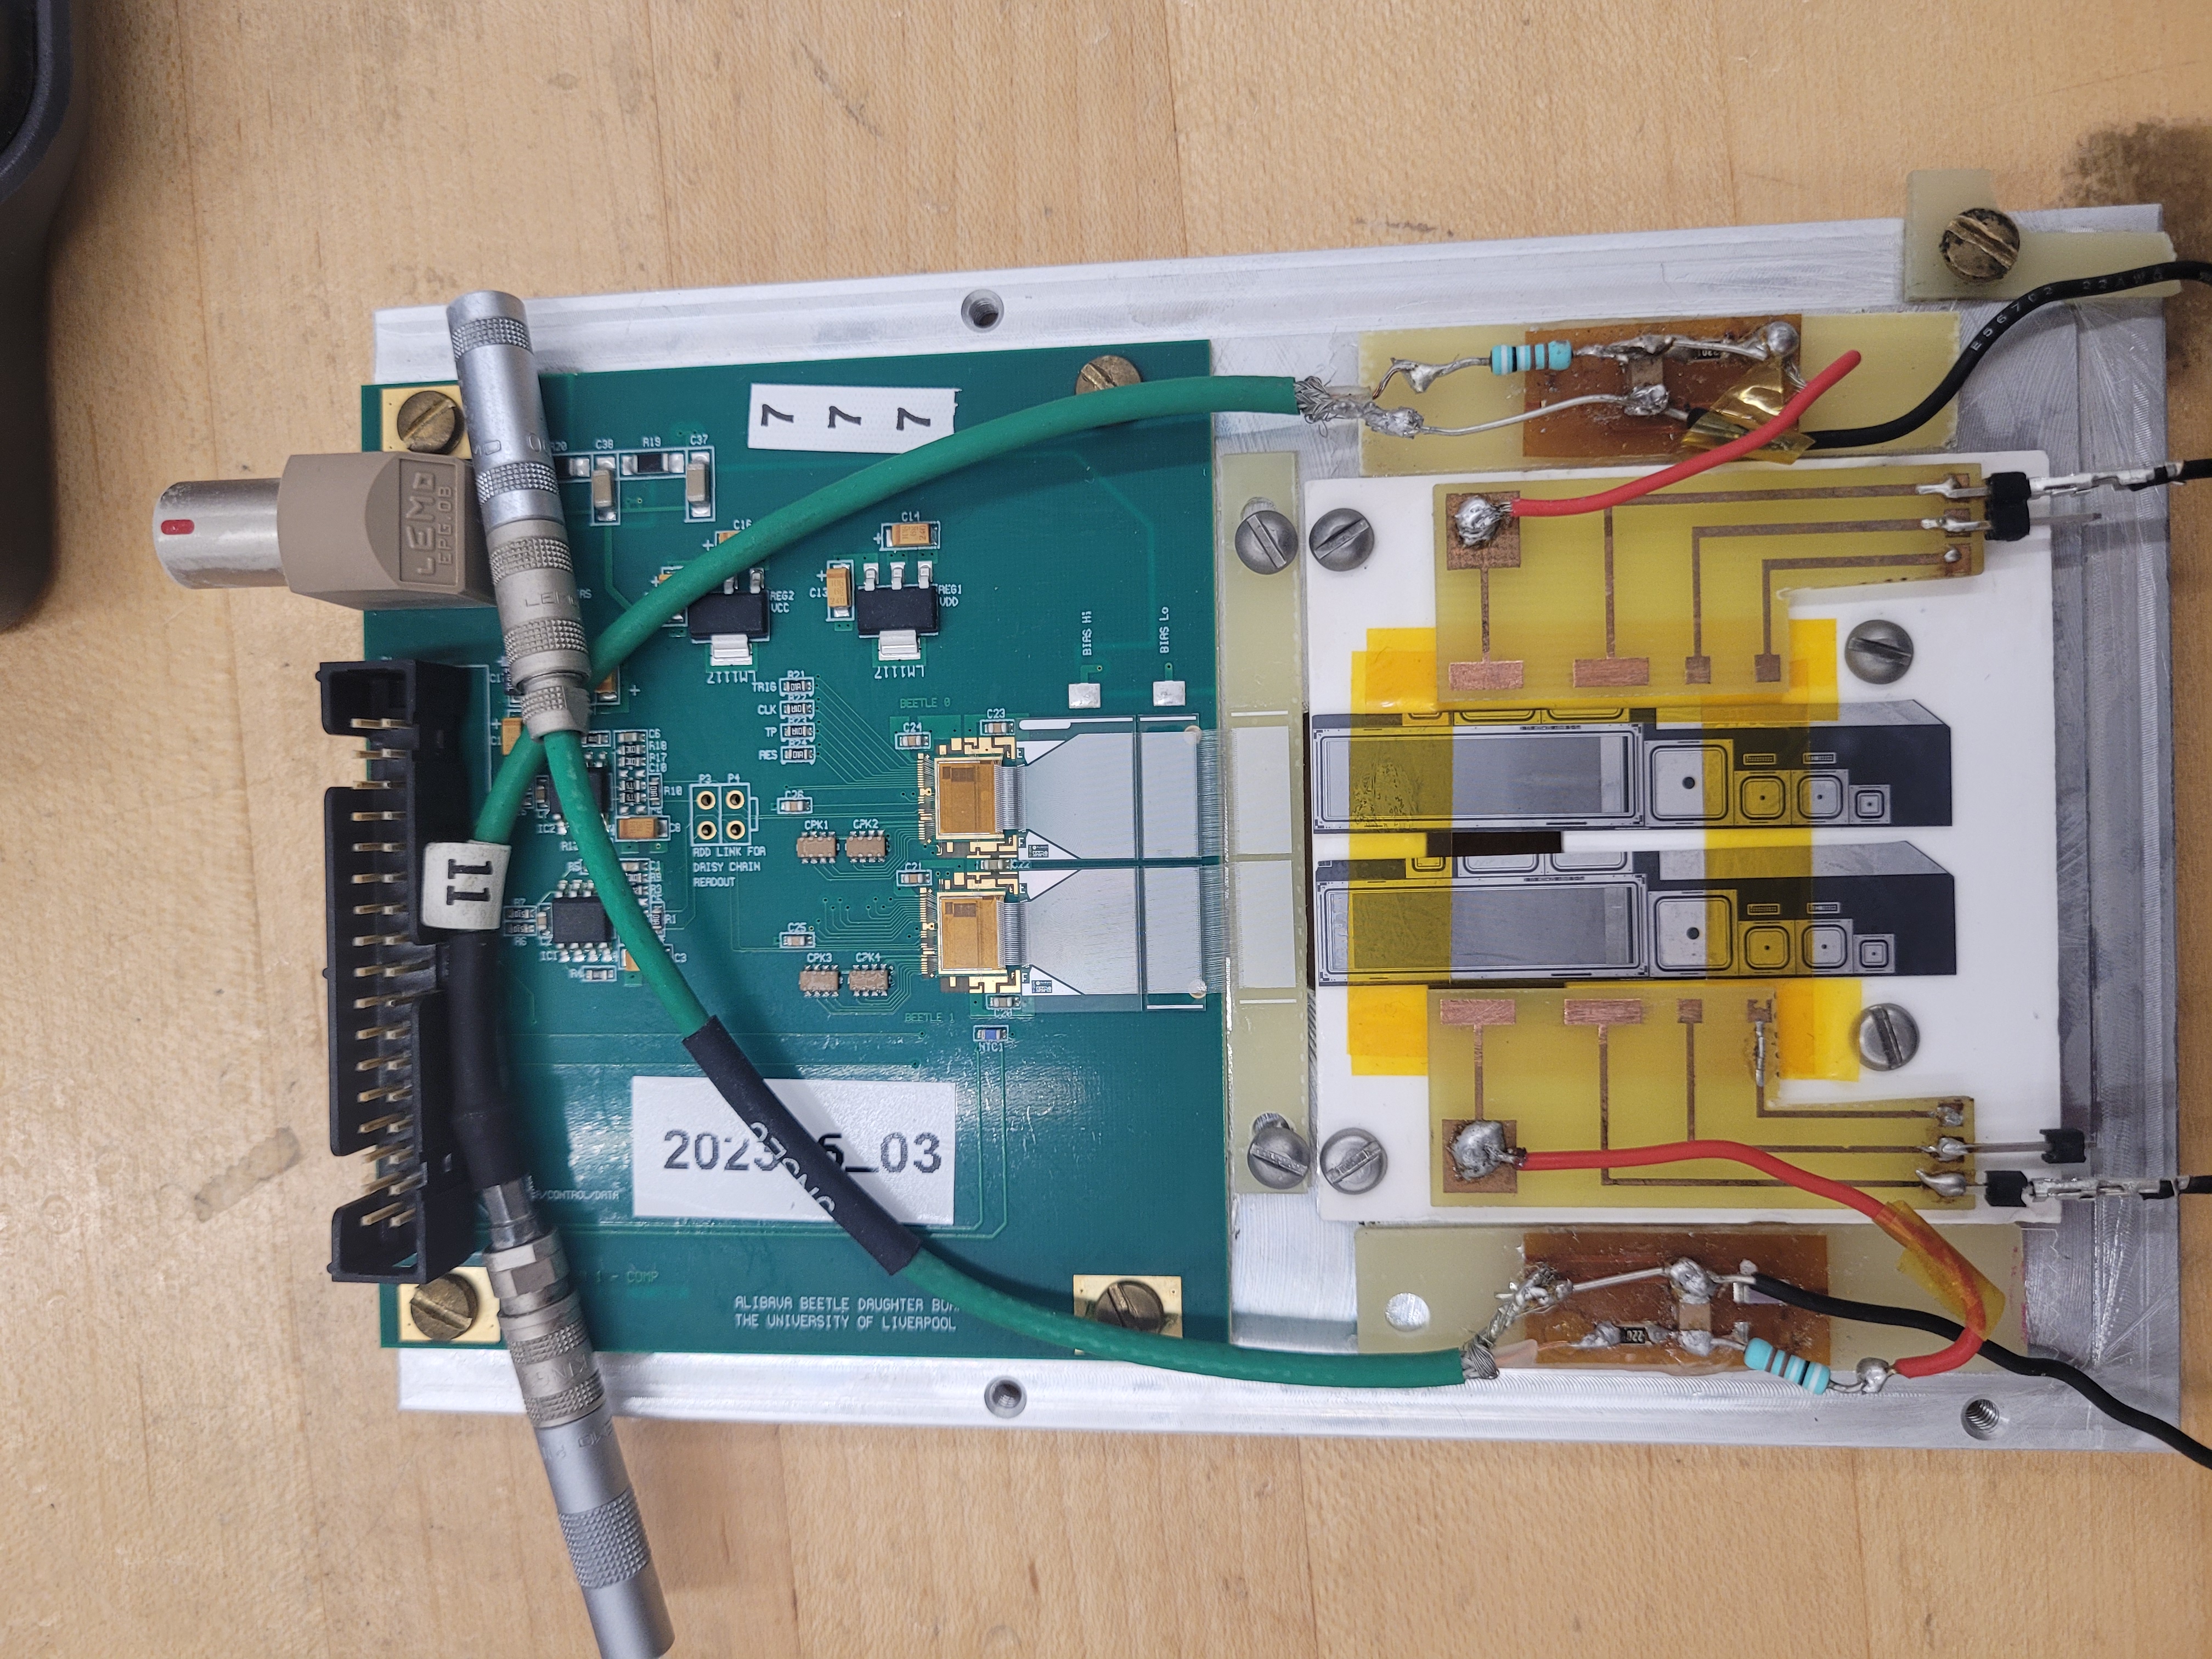
Alibava HM Sensor Testing
Alibava HM Sensor Testing
For our irradiation study, two HM diode chips (C0 and C1) are irradiated and tested using the Alibava set-up in lab 550, which performs a series of tests from -300V to -900V at 100 volt intervals. Extra tests are run at voltages -600V and -800V. We do not want the voltage to exceed compliance for the half moons before ...